Sites Documents
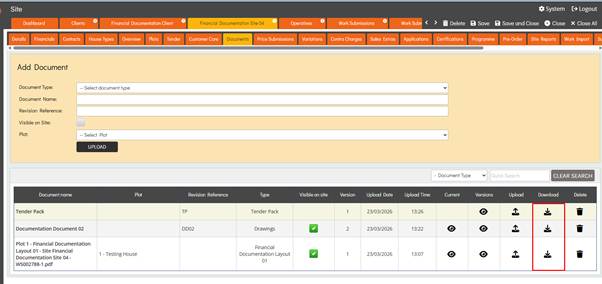
The Documents section allows users to View, Add, Edit, and Delete Documents associated with the selected Site.
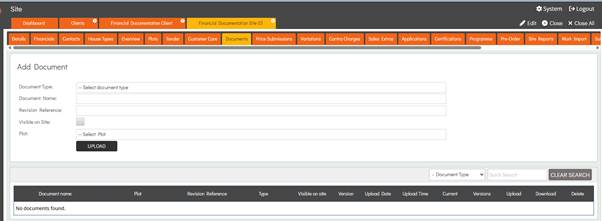
The Documents section contains a Quick Search which targets the Document Name column.
The Document Type filter dropdown lists all available Document Types that have been added. Users can select a specific Document Type to filter the table so that only Documents of the selected type are displayed.
Uploading Documents & Versions
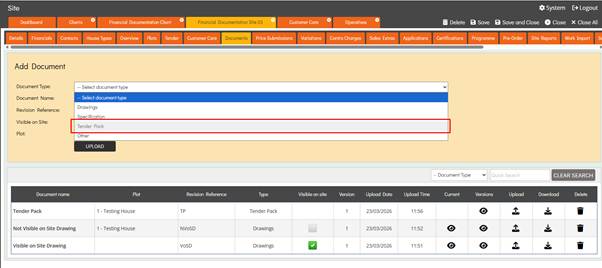
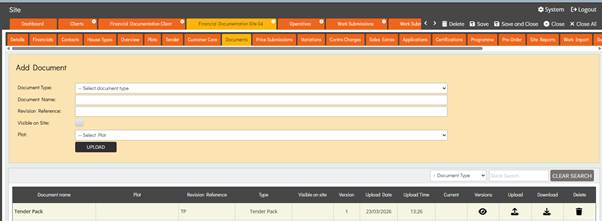
To add a new Document, the user must enter Edit mode and select a Document Type from the dropdown, which includes the options Drawings, Specification, Tender Pack, and Other. They can then enter a Document Name and Revision Reference as these are free-text fields, allowing flexibility in naming the Document.
The user can choose to enable or leave unchecked the Visible on Site checkbox; this determines whether the Document is displayed to Operatives in the Operative Portal. Next, the user may optionally select a Plot from the dropdown. If a Plot is selected, the Document will appear under Plot Information in the Operative Portal; if no Plot is selected, it will be displayed under the Drawings section.
Finally, the user can select the Upload button, which opens the File Explorer to allow them to choose and upload a file.
Only one Tender Pack can be uploaded per Site. Once a Tender Pack has been uploaded, the Tender Pack option in the Document Type dropdown is disabled, preventing users from selecting it again.
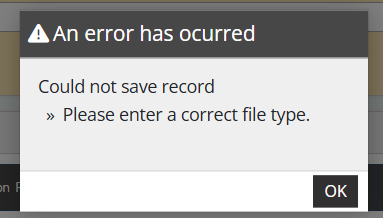
When the Tender Pack option is selected, users must upload a folder rather than a file; if a file is uploaded instead, the system will display an error indicating that the incorrect file type has been selected.
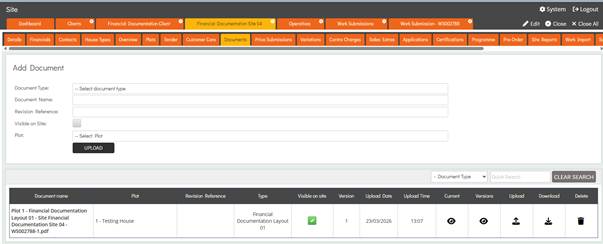
The system adds Active Form Layouts to the Site Documents area when a Work Submission is Accepted that includes a Labour Item with an attached Form containing an Active layout.
The Form Layout is displayed in the Documents list table, where the Document Name is composed of the Plot Number, Form Name, Site, and Work Submission Number, and the Document Type is set to the Form Name.
To Upload a new Version, the user must enter Edit mode and select the icon in the Upload column. The system will open a popup containing two editable fields: Document Name and Revision Reference, which the user can update as required to align with the new Version.
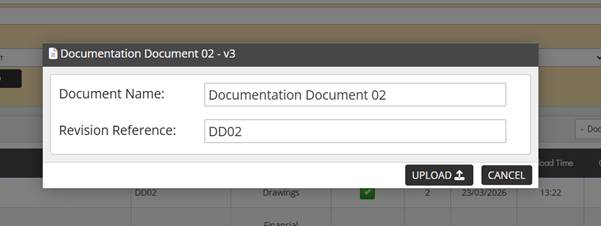
The popup also includes an Upload button; when selected, the system opens the File Explorer, allowing the user to choose a file to upload. Once the upload is complete, the Documents list table is updated to reflect the revised Document Name, Revision Reference, Upload Date & Upload Time for the latest version.
Viewing & Downloading Documents & Versions
To View an existing Document, the user can select the icon in the Current column for the desired Document, which will open a new browser tab displaying the most recent version.

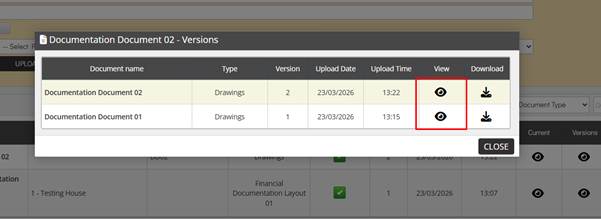
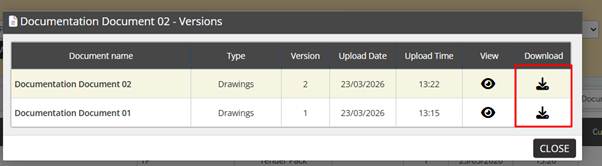
Alternatively, the user can select the icon in the Versions column to view a table containing all Versions of the Document. From this table, the user can select the icon in the View column to open a new browser tab displaying the selected version of the file.
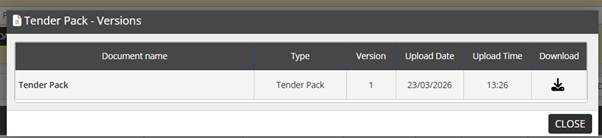
For the Tender Pack Document, the icon in the Current column is not displayed, as the upload consists of a folder that cannot be directly viewed.
Similarly, when the Versions icon is selected, the Versions popup does not include a View column for the Tender Pack Document.
When a Form Layout is viewed, the system opens it in a new browser tab. The Short Codes within the Layout are automatically parsed and populated with the responses provided by the Operative who submitted the Work Submission.

To Download a Document, the user can select the icon in the Download column for the desired Document. The system will immediately begin downloading the selected file, which can then be accessed locally on the user’s device.
Alternatively, the user can select the icon in the Versions column to open the Versions popup. Within this popup, a Download icon is available for each Version of the Document; selecting this icon will initiate an immediate download of the chosen Version to the user’s device.
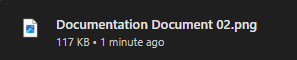
When a file is downloaded, it retains the Document Name that was assigned at the time of upload.
Deleting Documents
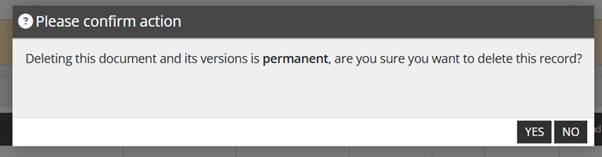
To Delete an existing Document, the user must enter Edit mode and select the icon in the Delete column. The system will display a confirmation dialog warning that deleting the document and all its versions is permanent. Once Yes is selected, the Document is deleted and cannot be recovered.
Deleted Documents are permanently removed from the Site’s Documents list and cannot be viewed or accessed in any way.